Slash Hundreds of Dollars from your Budget by Using Homemade Green Cleaners!
The supermarket cleaning aisle is crowded with dozens of products for every conceivable use. Many of these are costly and contain harsh chemicals, allergens, and poisonous substances that are risky to have around small children and pets.
Instead of using these items, why not try substituting them with cheap, environmentally safe, effective cleaners that you can easily make at home? All you need to buy is five easy-to-find basic ingredients will cost you around ten dollars or less!
Your Basic Green Cleaning Kit:
Is composed of:
Baking soda, salt, white vinegar, lemon juice, and borax.
***One note of caution: While borax is much safer than the ingredients in commercial cleaning products, it should still be stored away from children, pets, and food.
A supply of inexpensive spray bottles for liquid cleaners you will make.
Rags consisting of old towels, discarded clothing, cloth diapers, socks, and cloth napkins, and tablecloths no longer in use. (These are cheaper than paper towels, and are environmentally friendly — no trees are cut down to manufacture them!)
Two Dozen Household Uses for Vinegar
As a deodorizer:
To remove smells from the refrigerator, clean it with equal parts of vinegar and water.
To freshen a lunchbox, soak a piece of bread in vinegar, and leave it in the lunchbox overnight.
To deodorize a smelly kitchen drain, pour a cup of vinegar down the drain once a week. Let it stand thirty minutes, and then flush the drain with cold water.
To clean and disinfect a wooden cutting board, wipe it full strength vinegar.
Adding a tablespoon of vinegar to soapy water cuts grease and odor on dishes.
Rubbing vinegar on your hands kills onion odor, and also removes fruit stains.
After washing peanut butter, mayonnaise, and mustard jars, rinse them with vinegar to eliminate lingering odors.
Make vinegar ice cubes and grind them up in your garbage disposal to eliminate smells.
To eliminate overall kitchen odors, simmer a small pot of half vinegar and half water for a few minutes after cooking.
In the Laundry room:
To get rid of lint in clothes, add 1/2 cup of vinegar to the rinse cycle.
Do you want to prevent your colors from running? Immerse clothes in full strength vinegar before washing.
To brighten fabric colors, add a 1/2 cup vinegar to the rinse cycle.
Gently rub vinegar on the fabric to remove a fruit, jam, coffee, tea, or mustard stain.
To take grease off of suede, simply dip a toothbrush in vinegar and gently brush over the grease spot.
Do your clothes smell like smoke? Add one cup of vinegar to a bath tub full of water, and hang the clothes over the steam for a few minutes.
Want to freshen up the washing machine? Periodically, pour a cup of vinegar in the machine and let it run through a regular cycle (no clothes added). It will dissolve any built up soap residue.
Is your steam iron clogged? Pour equal amounts of vinegar and water into the iron's water chamber. Turn to steam and leave the iron on for 5 minutes in an upright position. T hen unplug the iron and allow it to cool. Any loose particles should come out when you empty the water.
For other cleaning jobs:
Full strength vinegar is great for cleaning chrome and stainless steel. Simply rub it with a soft cloth.
Soaking nuts and bolts or other rusted items in full strength vinegar will loosen them and dissolve the rust.
Boiling one cup of water and 1/4 cup of vinegar in the microwave will make it easy to wipe up food splatters, and will leave your microwave smelling fresh.
Brushing decals and stickers with a couple of coats of vinegar and allowing it to soak in will make them easy to remove.
Are your pots stained? Simply add three tablespoons of water to a pint of vinegar and boil until the stains loosen, and can be easily washed away.
To eliminate soapy build up in your dishwasher, run a cup of vinegar through it once a month.
Did doggy get sprayed by a skunk? Rub his fur with full strength vinegar and rinse to eliminate the odor.
Cleaning with Lemon Juice:
To remove tarnish from copper pots or brass lamps, dip lemon halves in salt and rub them over the area you want to clean.
If you have hard water deposits and/or rust in the bathroom that you want to remove, simply pour full strength vinegar on the area, let it stand until the stain disappears, and then rinse. Is your old Tupperware/plastic ware yellowed? Put full strength lemon juice inside the bowls and leave them in direct sunlight for a few hours. Rinse afterwards.
Do you have a natural fabric bedspread that has stains on it? Wash the item in lemon juice and hang it on the clothesline where there is direct sunlight, and let it dry.
If your hubby rust stains his clothes, simply let lemon juice soak directly into the stain, and let the item dry in direct sunlight.
In your kitchen, adding lemon juice to dish water helps to cut grease, and leaves your dishes smelling fresh?
Salt and lemon juice makes a great cleaner for mildew! It is also recommended for cleaning piano keys.
Use lemon juice to cut through stains on aluminum and porcelain.
Equal parts of lemon juice and water, mixed in a spray bottle, makes a great glass and window cleaner, and leaves a nice fresh scent!
Mix one cup mineral oil and 1/2 cup lemon juice to make an inexpensive and effective furniture polish. Pour it on your soft dry cleaning cloth, rather than directly on the furniture itself.
Two Dozen Uses for Baking Soda
Inexpensive, versatile, and environmentally friendly, baking soda has a myriad of uses. I have compiled two dozen of them, some you may have never tried before. From reducing baby's fever to cleaning dentures, and ridding your garden of pests, baking soda can be an easy and cheap solution to your problems.
Homemade Scouring Powder
1 cup baking soda
1 cup borax
1 cup salt
Drain Cleaner
1 cup baking soda
Add 1 cup hot vinegar
Wait a few minutes, then flush the drain with 1 quart of very hot water.
For garbage disposals, use 1/4 cup baking soda and 1/2 cup of vinegar.
Automatic Dishwasher Powder
Uses 2 tablespoons baking soda and 2 tablespoons borax per load.
Drip Coffee Maker Cleaner
Mix 1 cup warm water and 1/2 cup baking soda. Let it drip through the coffee maker.
Then drip a pot of plain water to rinse. It will keep your coffee maker clean and fresh.
Teapot Cleaner
To remove rust stains and mineral deposits, fill the teapot with water and add 2 tablespoons of baking soda and the juice of half a lemon. Boil gently for 15 minutes. Rinse and repeat if needed.
Microwave Cleaning
Make a cleaning solution of 4 tablespoons of baking soda to 1 quart of warm water. Use it to clean the inside surfaces of the oven — or place a few spoonfuls of baking soda in water in a microwave safe cup. Boil the water 3-5 minutes. The walls of the microwave will be damp. Simply take a sponge or paper towel and wipe down the insides of the oven.
Unclog Gas Stoves
To unclog burners on a gas stove, simply add 1/4 box of baking soda to 2 quarts of water and boil for a few minutes.
Easy Toilet Cleaner
Sprinkle 1/2 box of baking soda into the toilet tank once a month. Let it stand overnight before flushing. The tank and the bowl will be both clean and deodorized.
Economical Air Freshener
Simply mix equal parts of baking soda with your favorite perfumed bath salts. Put it in a soap dish or in small sachet bags wherever you would like to freshen the air.
Economical Carpet Deodorizer
Mix 1/2 cup of baking soda, 1/2 cup of cornstarch, and 15 drops of essential oil fragrance for scent. Sprinkle on the rugs before bedtime and let it sit overnight. If you like, you can work it into the carpet the next morning with a stiff bristle brush or broom. Then vacuum.
Laundry Booster
Add 1/2 cup baking soda to the washing machine along with your usual amount of liquid laundry soap. It will make whites whiter and colors brighter. (NOTE: It doesn't work with powdered laundry detergents).
Clean Brushes and Combs
Fill sink with hot water and 1/4 cup of baking soda. Watch the dirt and oil dissolve away.
Underarm Deodorant
Sprinkle under the arms, even after shaving. It won't irritate your skin. If you prefer a smoother textured deodorant, mix it with a little talcum powder.
Clean Glasses
Hold your eyeglasses over a sink and sprinkle a small amount of baking soda on them. With wet fingers, gently rub the lenses. Rinse clean and dry with a soft, lint-free cloth.
Breath Freshener
Sprinkle 1/2 teaspoon of baking soda into a cup of water and rinse. It will eliminate even morning mouth, garlic, and onion odors! Make your own mouthwash by combining 1 teaspoon of baking soda, 1 teaspoon of salt, and 1 cup of water. Add a few drops of flavoring if desired.
Tooth Whitener
Mix 1 teaspoon baking soda with 1/2 teaspoon of lemon juice. Using a cotton swab, apply it to your teeth, brush clean with water, and rinse. Coffee and tea stains will disappear! (NOTE: This is an occasional treatment only. Lemon juice contains a lot of acid and shouldn't be overused, or used alone. Combined with baking soda, the acid is buffered and won't destroy the tooth's enamel.)
Denture and Retainer Cleaner
Combine 1 tablespoon of baking soda, 1 tablespoon of powdered laundry detergent, and 1 cup of water. Soak the dentures or plastic retainer for 30 minutes and rinse well. If you prefer, you can use 1 cup of water and 2 teaspoons of baking soda in a glass.
An Inexpensive Sports Drink
For each quart of boiled water add 1 level tablespoon of salt, 1 rounded teaspoon of baking soda, 4 rounded teaspoons of sugar, and 1 package of sugar free Koolaid. Stir until clear and refrigerate.
Clear Up a Stuffy Nose
Add a teaspoon of baking soda to your vaporizer. It will unblock nasal passages and keep the vaporizer clean as well!
Baby Fever Reducer
Bathe the infant in a tub of lukewarm water within 1/2 cup of baking soda. Use less if your are using a plastic infant tub. This is also an effective remedy for diaper rash.
For Dogs and Cats
Sprinkle baking soda on your pet's brush or combo to deodorize their skin and fur. Adding 2 tablespoons of baking soda to your dog's bath water and rinse water will make their coat clean and shiny.
Using baking soda on pet stains will eliminate the odor and prevent the pet from returning to the same spot in the future for another accident.
Sprinkling the litter box with baking soda keeps it fresh and deodorized.
Paint Brushes
To restore brushes stiffened and hardened by paint, simply boil them in a solution of 1/2 gallon of water mixed with 1/4 cup vinegar and 1 cup of baking soda.
Non-toxic pesticide
Put baking soda under sinks near pipe openings and along basement windows to repel ants, silver fish and roaches. Roaches will dehydrate and die after eating baking soda.
In the Garden
Occasionally, lightly sprinkle baking soda around flowerbeds to prevent rabbits from nibbling at your buds. Sprinkle baking soda on slugs to get rid of them without having to resort to costly and toxic pesticides.
To sweeten your tomatoes by reducing their acidity, sprinkle baking soda lightly on the soil around your tomato plants. The soda from an old box used to absorb odors in the refrigerator is fine for this purpose.
Two Dozen Household Uses for Salt:
In the Kitchen:
Soak discolored glass in a salt and vinegar solution to remove yellowish stains.
Use salt to clean your discolored coffee pot.
Sprinkle salt in your oven before scrubbing it clean.
Clean greasy pans with a paper towel and salt.
Rub salt on your pancake griddle to prevent your pancakes from sticking
If a fruit pie bubbles over in your oven, put a handful of salt on top of the spilled juice. The smell won't remain, and the mess will bake into a dry, light crust which will wipe off easily after the oven has cooled.
Use a mixture of salt and baking soda to sweeten the odor of your refrigerator.
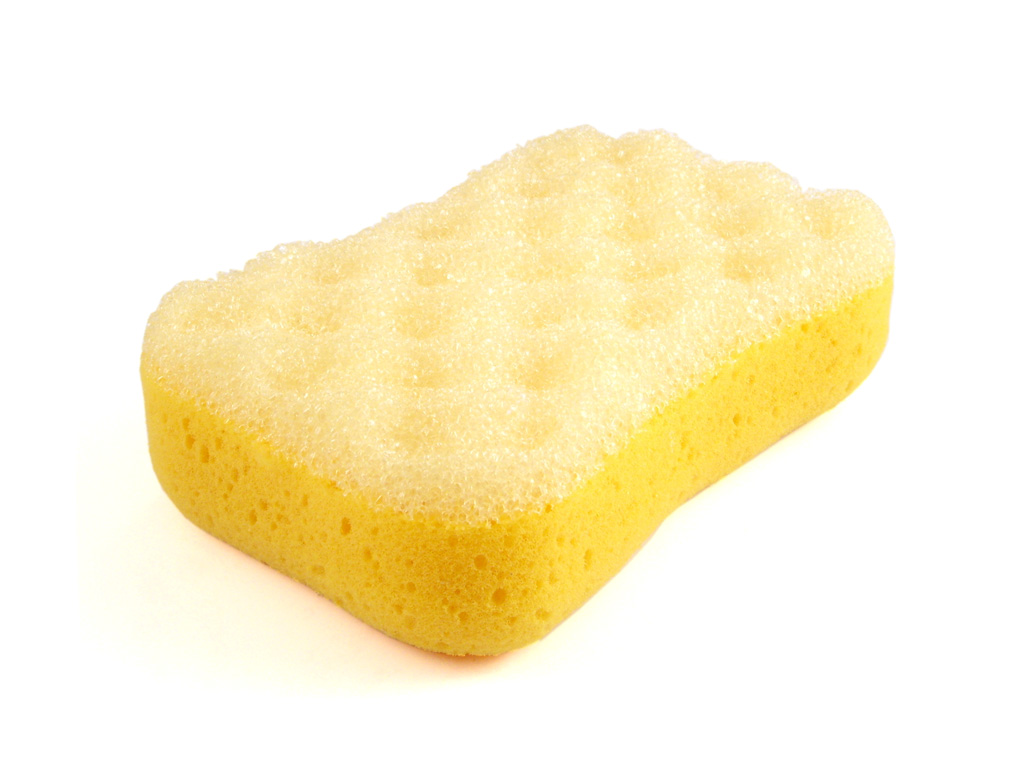
Freshen kitchen sponges by soaking them in salt water.
Remove offensive odors from your stove with salt and cinnamon.
Remove odors from sink drain pipes with a strong, hot solution of salt water.
In the Bathroom:
Use salt and lemon juice to remove mildew.
Mix salt with turpentine to whiten your bathtub and toilet bowl.
In the Laundry:
Soak your clothesline in salt water to prevent your clothes from freezing to the line; also use salt in your final rinse to prevent the clothes form freezing while hanging outdoors on the line.
Boiling wooden clothespins in salt water before using them makes them last longer.
Adding salt to your wash water prevents bleeding of colors.
Soak stained handkerchiefs in salt water before laundering them.
Clean your iron by rubbing it's surface with a damp cloth soaked in salt water.
Cover wine-stained fabric with salt, and rinse later in cool water.
To remove grease stains in clothing, mix one part salt to foru parts alcohol and then launder as usual.
Other Places:
Rub wicker furniture with salt water to prevent yellowing.
Brighten an old kerosene lamp by rubbing it with salt.
Clean brass, copper, and pewter with paste made of salt and vinegar, thickened with flour.
Pour a mound of salt on an ink spot on your carpet; let the salt soak up the stain.
Use a mixture of salt and lemon juice to clean piano keys.
Some "Recipes" for Homemade Natural Cleaners:
All-purpose Cleaner
Mix one-quarter cup of vinegar with one gallon hot water. Store in a spray bottle.
Abrasive cleanser
Mix equal parts of salt and baking soda. Scrub with mixture on a wet sponge. Rinse with all purpose cleaner and then warm water.
Brass or copper polish
Mix one teaspoon salt, one tablespoon flour and enough vinegar to make a thick paste. Rub the paste on the surface you want to clean and let it dry completely. Rinse in warm soapy water and buff with a clean, soft cloth.
Drain cleaner
Pour one-quarter cup of baking soda down the drain; follow with one-half cup of vinegar. After the "fizzing" stops, flush with boiling water.
Floor cleaner
Mix one-half cup of white vinegar with one-half gallon of warm water.
Furniture polish
Mix together one-half cup of lemon juice with one cup of mineral oil. Rub on wood furniture with a soft cloth.
Pet stain cleaner
Mix together one-quarter cup of white vinegar and one-quarter cup of mild liquid soap. Rub it into the stain and then blot. Rinse with warm water.
Window cleaner
Mix together three tablespoons of vinegar and one quart of hot water. Store it in a spray bottle. Spray on windows and glass. Wipe off with crumpled newspaper or a squeegee.
Irene Helen Zundel is a freelance writer, educator and mother, and an expert in child development, home schooling and creative parenting and home making.
Visit her online at http://www.irenehelenzundel.com


![Reblog this post [with Zemanta]](http://img.zemanta.com/reblog_e.png?x-id=e754ad52-87b1-4a36-a20e-34005bfd4095)

![Reblog this post [with Zemanta]](http://img.zemanta.com/reblog_e.png?x-id=b2209c0c-043d-47c1-beef-7380077cfc40)

![Reblog this post [with Zemanta]](http://img.zemanta.com/reblog_e.png?x-id=b733bae1-1b56-474a-b22b-964766ec8d13)
![Reblog this post [with Zemanta]](http://img.zemanta.com/reblog_e.png?x-id=bfe320e3-64de-43fa-a974-1c7ee0bd409d)

![Reblog this post [with Zemanta]](http://img.zemanta.com/reblog_e.png?x-id=0b770791-e5c7-4382-928a-20987804e080)

![Reblog this post [with Zemanta]](http://img.zemanta.com/reblog_e.png?x-id=3c9c1c07-c895-4619-a425-e6eaef311c5f)


![Reblog this post [with Zemanta]](http://img.zemanta.com/reblog_e.png?x-id=1f988641-ee84-4e6b-96b0-5abd402c6a19)

![Reblog this post [with Zemanta]](http://img.zemanta.com/reblog_e.png?x-id=709b1424-d840-4335-b7ba-af3f4b1c5c20)